Flayer Debugger
The Flayer Debugger is a powerful testing and debugging tool available on Nexus (Tools > Flayer Debug). It allows you to establish a connection between your game and the UI on Nexus.
Among other features, this allows you to test your developed flayer functions (aka game functions) as well as the game state.
Read the AI Agent section to understand why we require you to develop additional game functions and game state. TLDR; it helps the AI agent play the game better.
We call this Tool Flayer Debugger since it allows you to test your flayer
functions. In other parts of the documentation like the AI
Agent we refer to these functions
as game functions, which is a more intuitive name. In the end, flayer
functions and game functions are the same thing.
How to establish the Connection
- Launch your game with the Nunu SDK enabled
- Open the Nunu console window in-game (default: F7). It should look something like this:
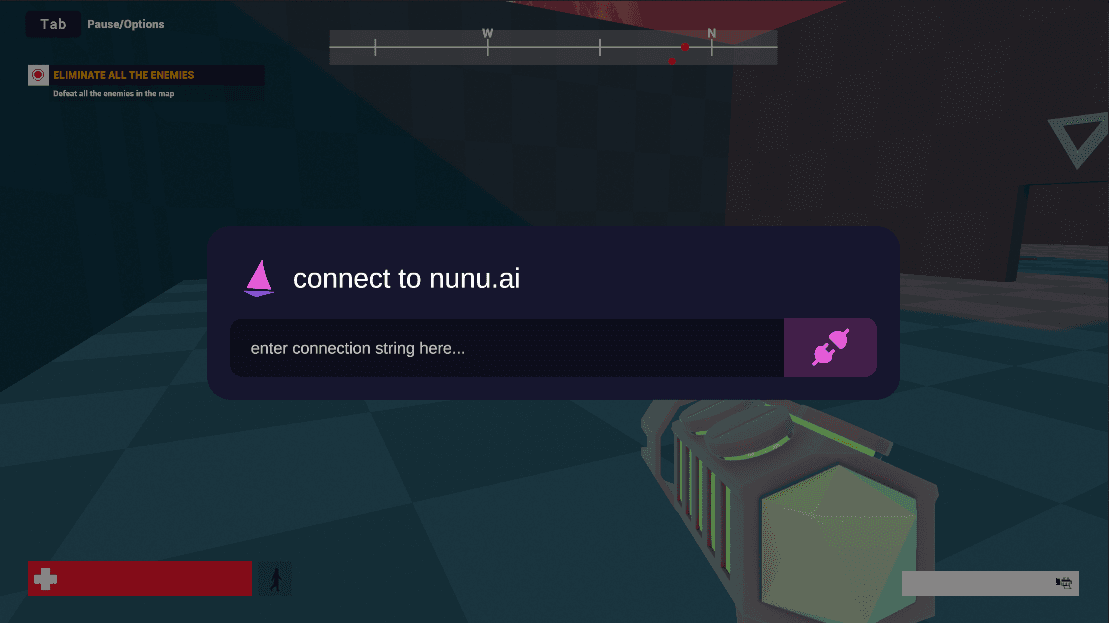
- Copy the connection string by clicking the copy icon in the top right corner of the debugger

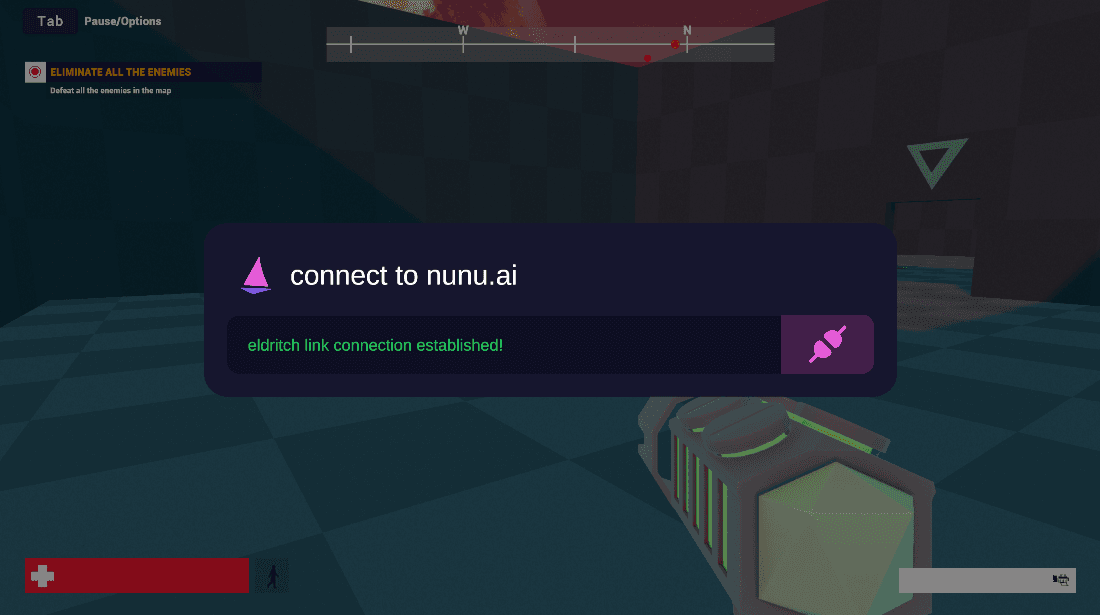
- Paste the connection string into the console window in the game and press ‘Enter’.
How to use the Flayer Debugger
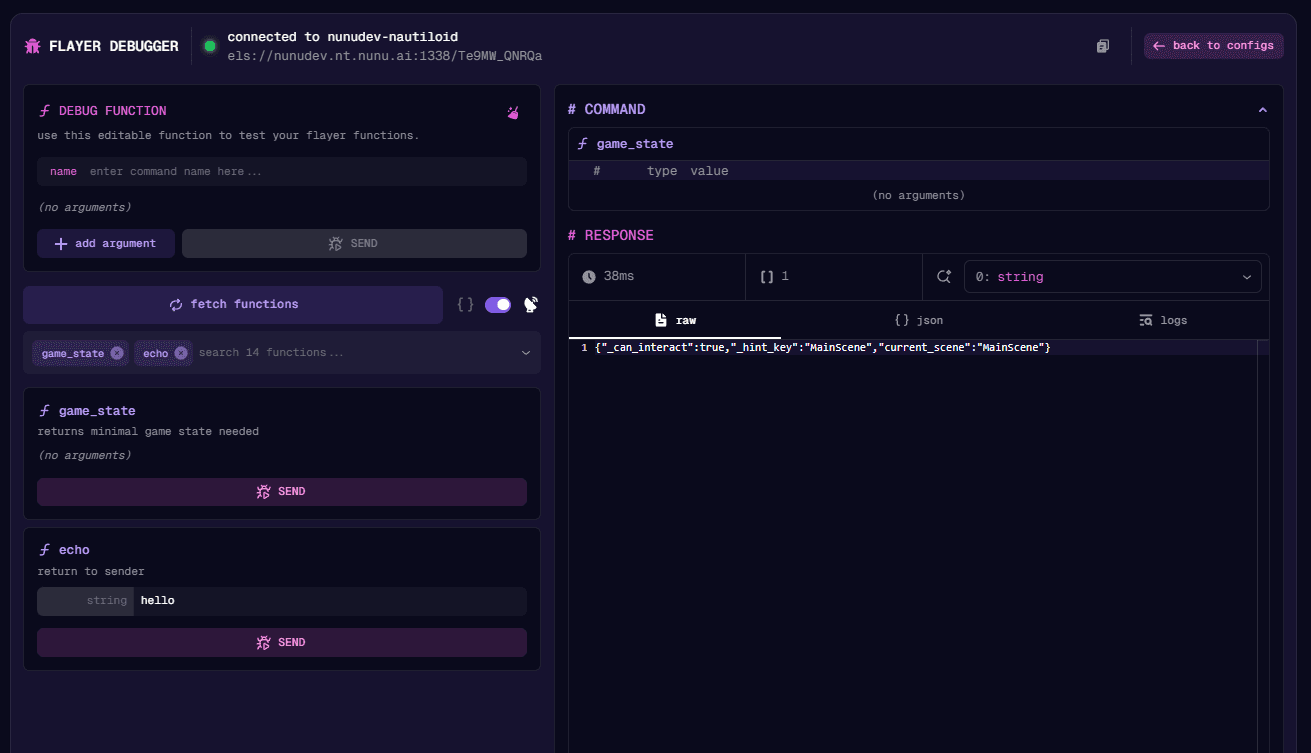
Fetch available Functions
By pressing the fetch functions button you can fetch all available flayer functions. This is usually the first step before you start your debugging session.
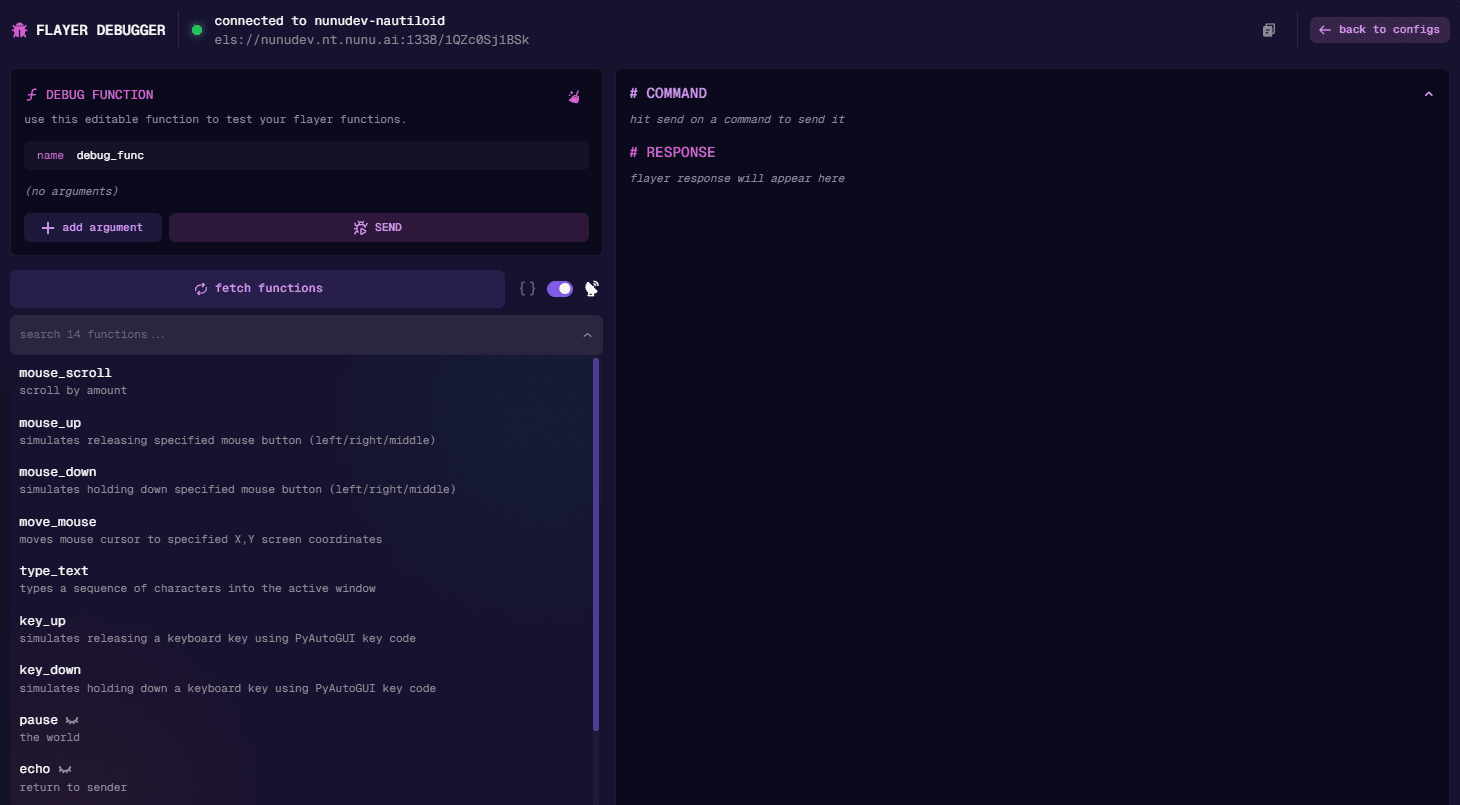
In the background we scan all available functions and display all
Some Flayer functions have a closed eye icon
next to them. This symbolizes that these functions are not exposed to the AI Agent but available for general usage.
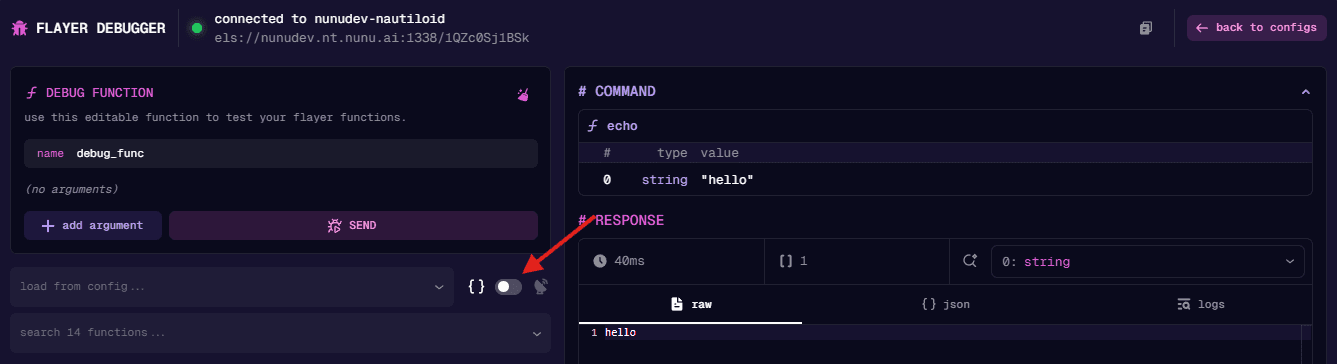
Test a Flayer Function
Testing out if flayer functions are working as intended is one of the most common use cases. To run a flayer function simply:
- Select the flayer function you want to test in the search bar under the
fetch functionsbutton. - Fill in the necessary arguments
- Click the
Sendbutton and observe that your function gets executed.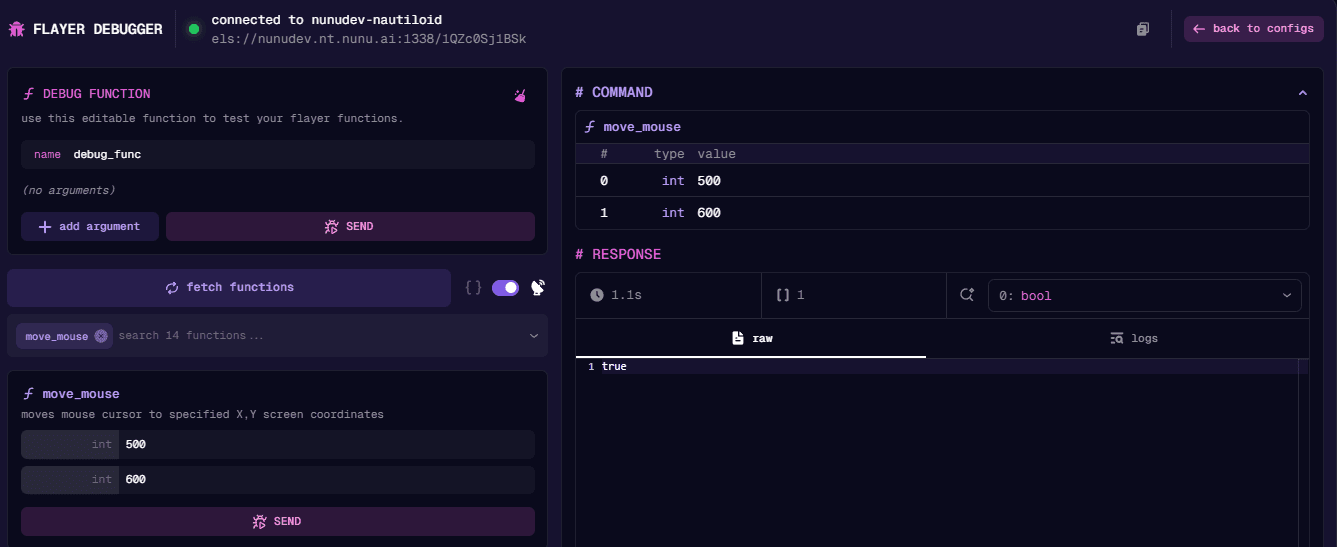
On the right side of the Flayer debugger you can check the response. Check out the raw tab for the raw response and the logs tab for what game logs got sent while running your function.
Checking if the sent logs are correct is highly encouraged. Good logs provide valuable feedback to both you and the AI Agent, making it clear whether a function executed successfully or encountered issues.
Test the Game State
Checking if the game state works is another very common use case. This process is identical to testing Flayer functions, with the added benefit that you have a convenient json tab in the response section to display your game state in a more readable format.
Note: Your constructed game state should not be larger than one A4 page of text.
Load a specific config
In Nexus (Configs -> Game Funcs) you can create different configurations for the available flayer functions. This is mostly used when you want different tests to have different available functions and you therefore exclude some of them.
You can check what flayer functions are available for a specific configuration like this:
- Click the icon to disable scanning and enable the loading of a specific config.
- Select the flayer config from the dropdown.