Start your first Run
This guide will walk you through the process of starting your first test or task using a nunu.ai Agent:
Upload your Build
To run anything, we first need a build to test. Upload your build (game.ipa, app.apk, build.zip, …) in the Build Storage tab on nexus.
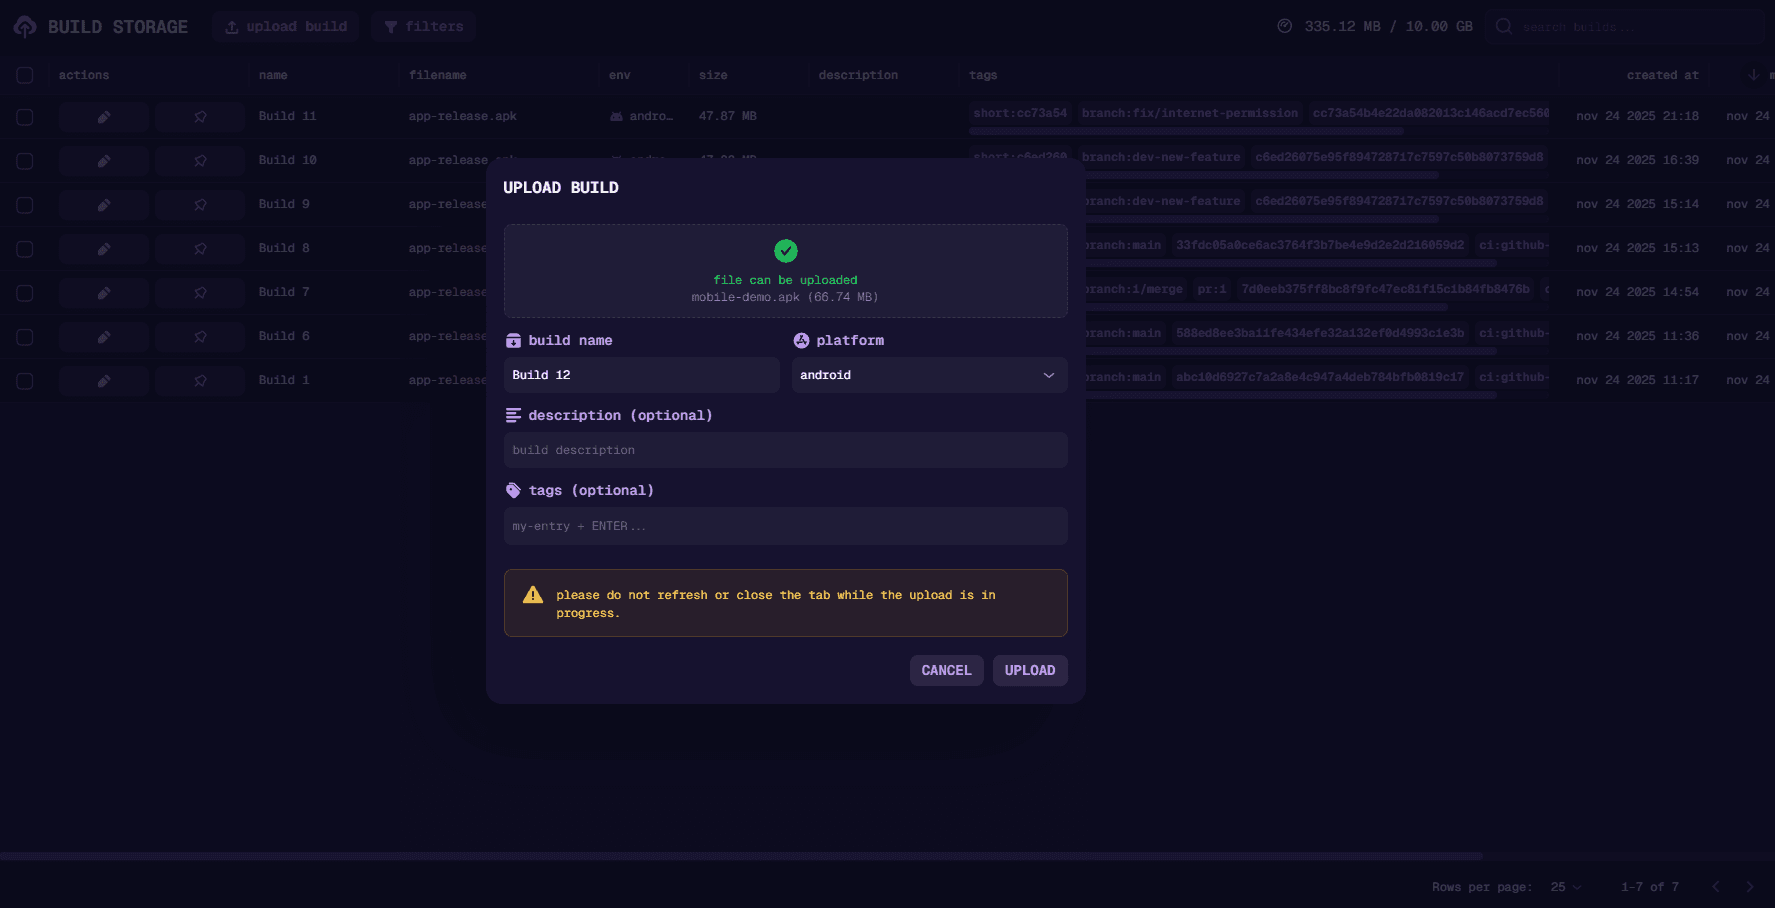
For more information on Build Storage, visit Build Storage.
Create a Test/Task
Open Tests -> Repository and create your very first test. To start out, let’s create a simple discovery test that explores the whole game.
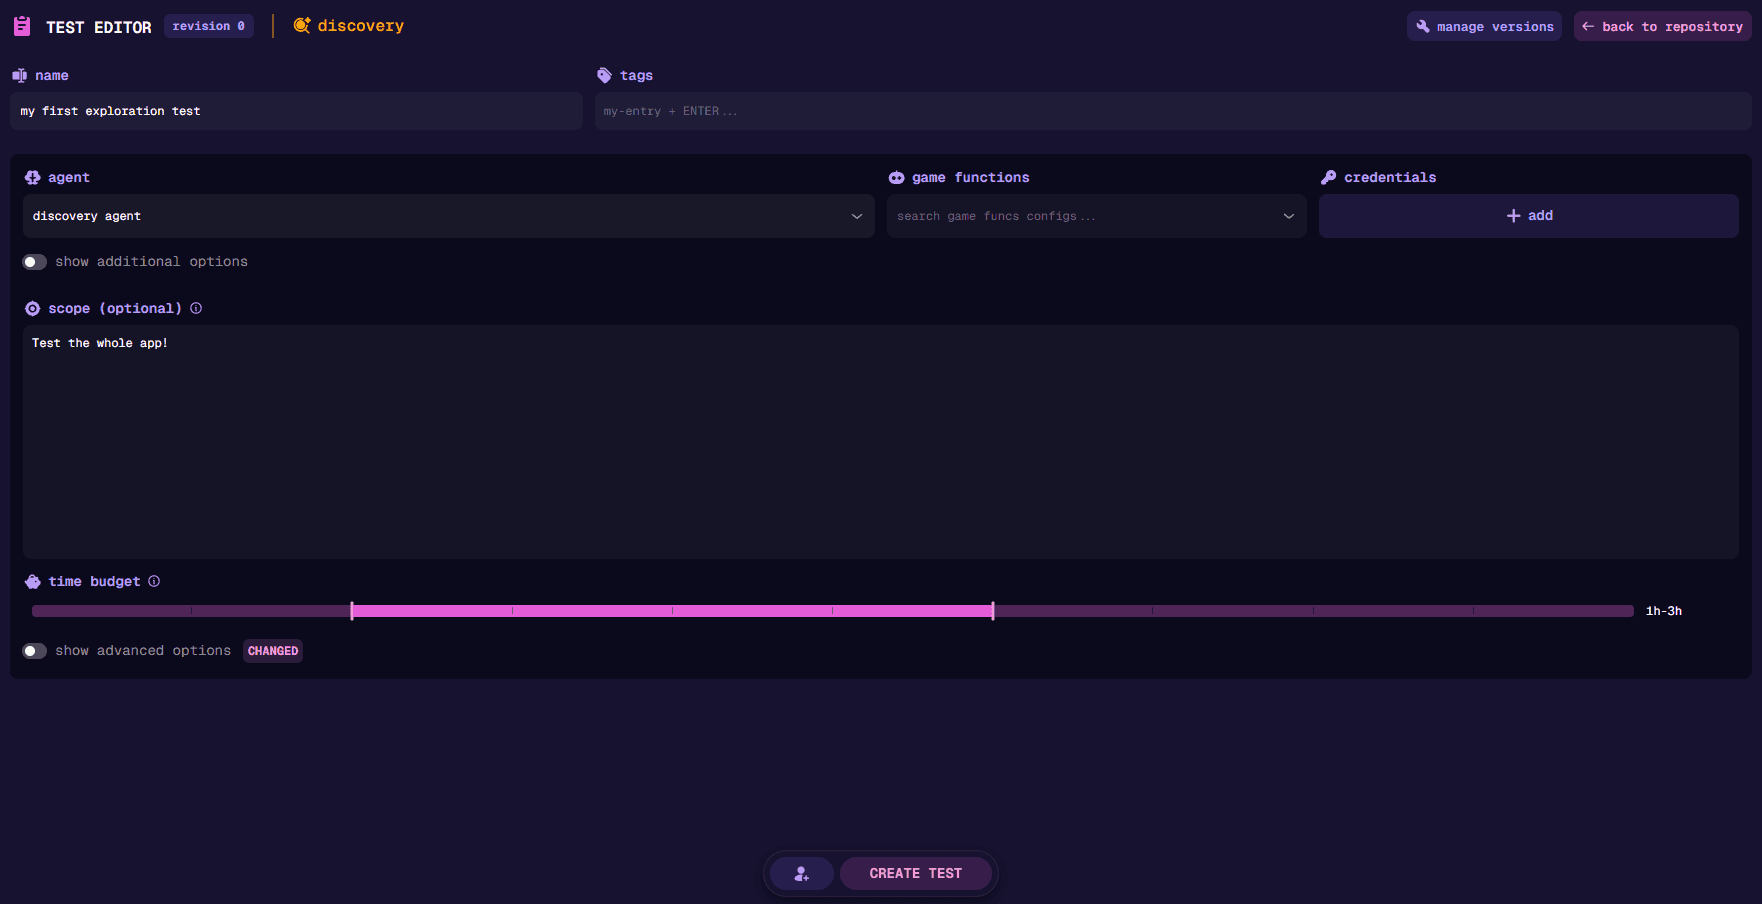
Writing good test cases is a skill that can be learned. Read our Writing Tests Guide to write effective test cases.
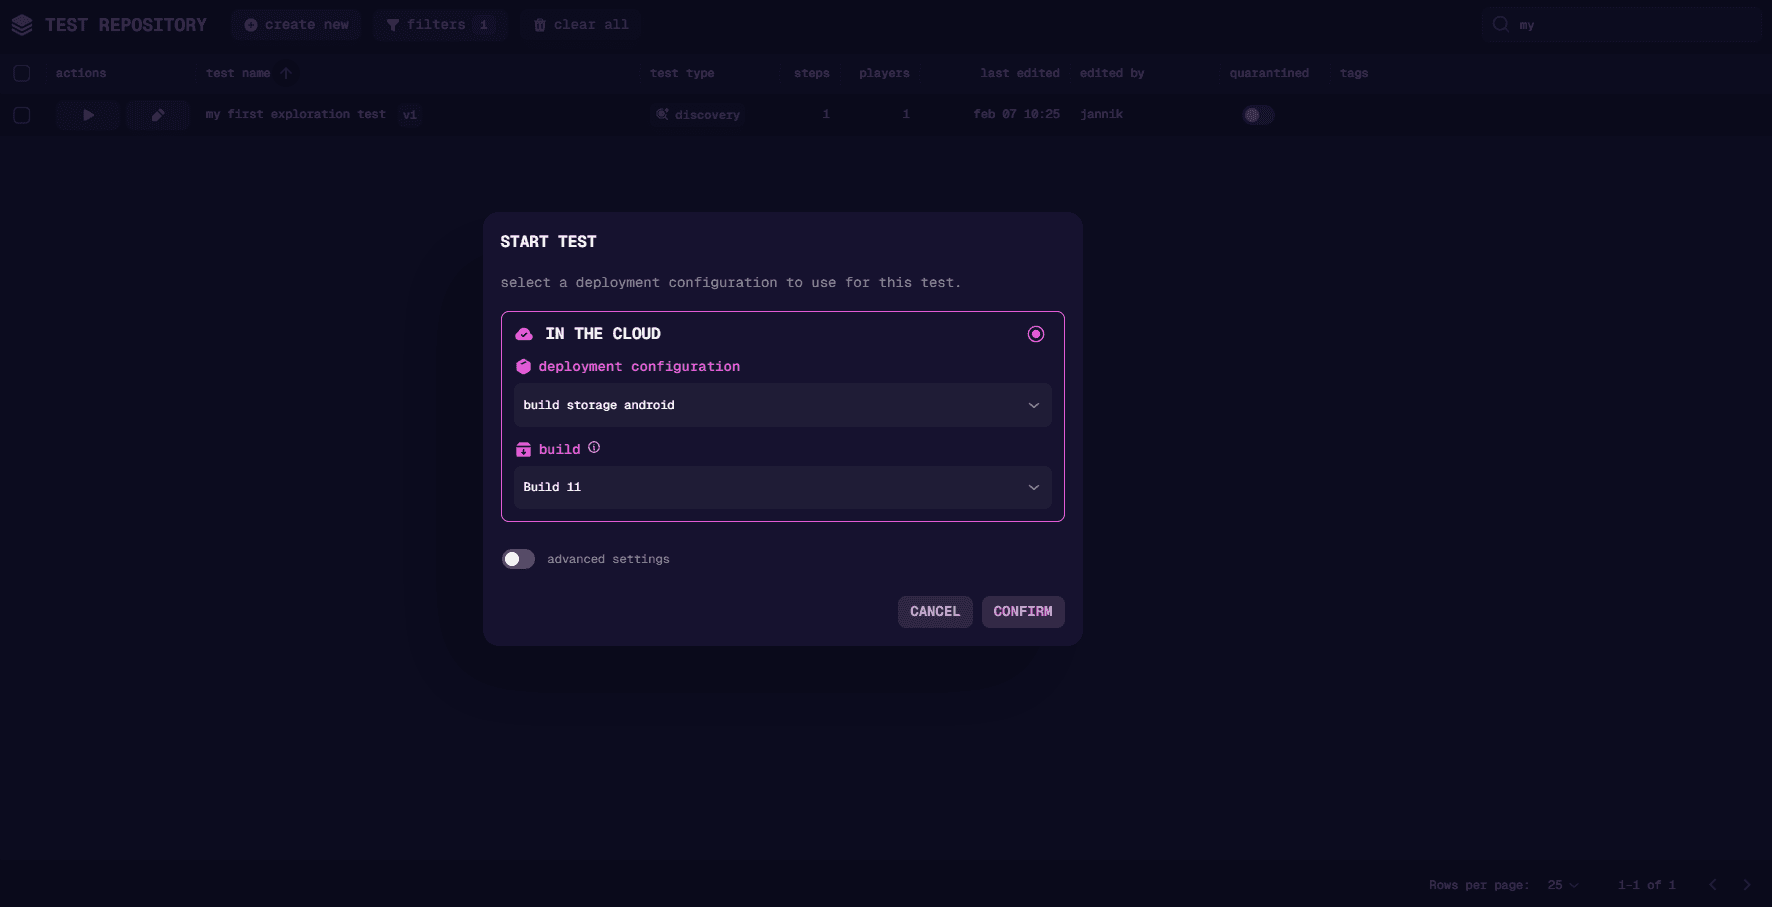
Run
Click on the Play button to open the start test dialog. Choose the deployment config that matches the platform of your build and the build you just uploaded, then click Confirm.
You’ll be redirected to the live page, where you can now see your device and agent being set up. After a while, you’ll see run card change into active and you can click on watch live to see the test run in real-time. Since the test will take a while to complete, ideally you go and do something else and come back later to see the results.
Looking at the results
After the run is complete, you can find it under History -> Runs. The report gives a summary of what the agent did and what bugs it found. Click on the details button to see any artifacts or logs that were generated during the test run, or click on recording to open the recording view where you can see exactly what the agent was seeing, thinking, and doing.
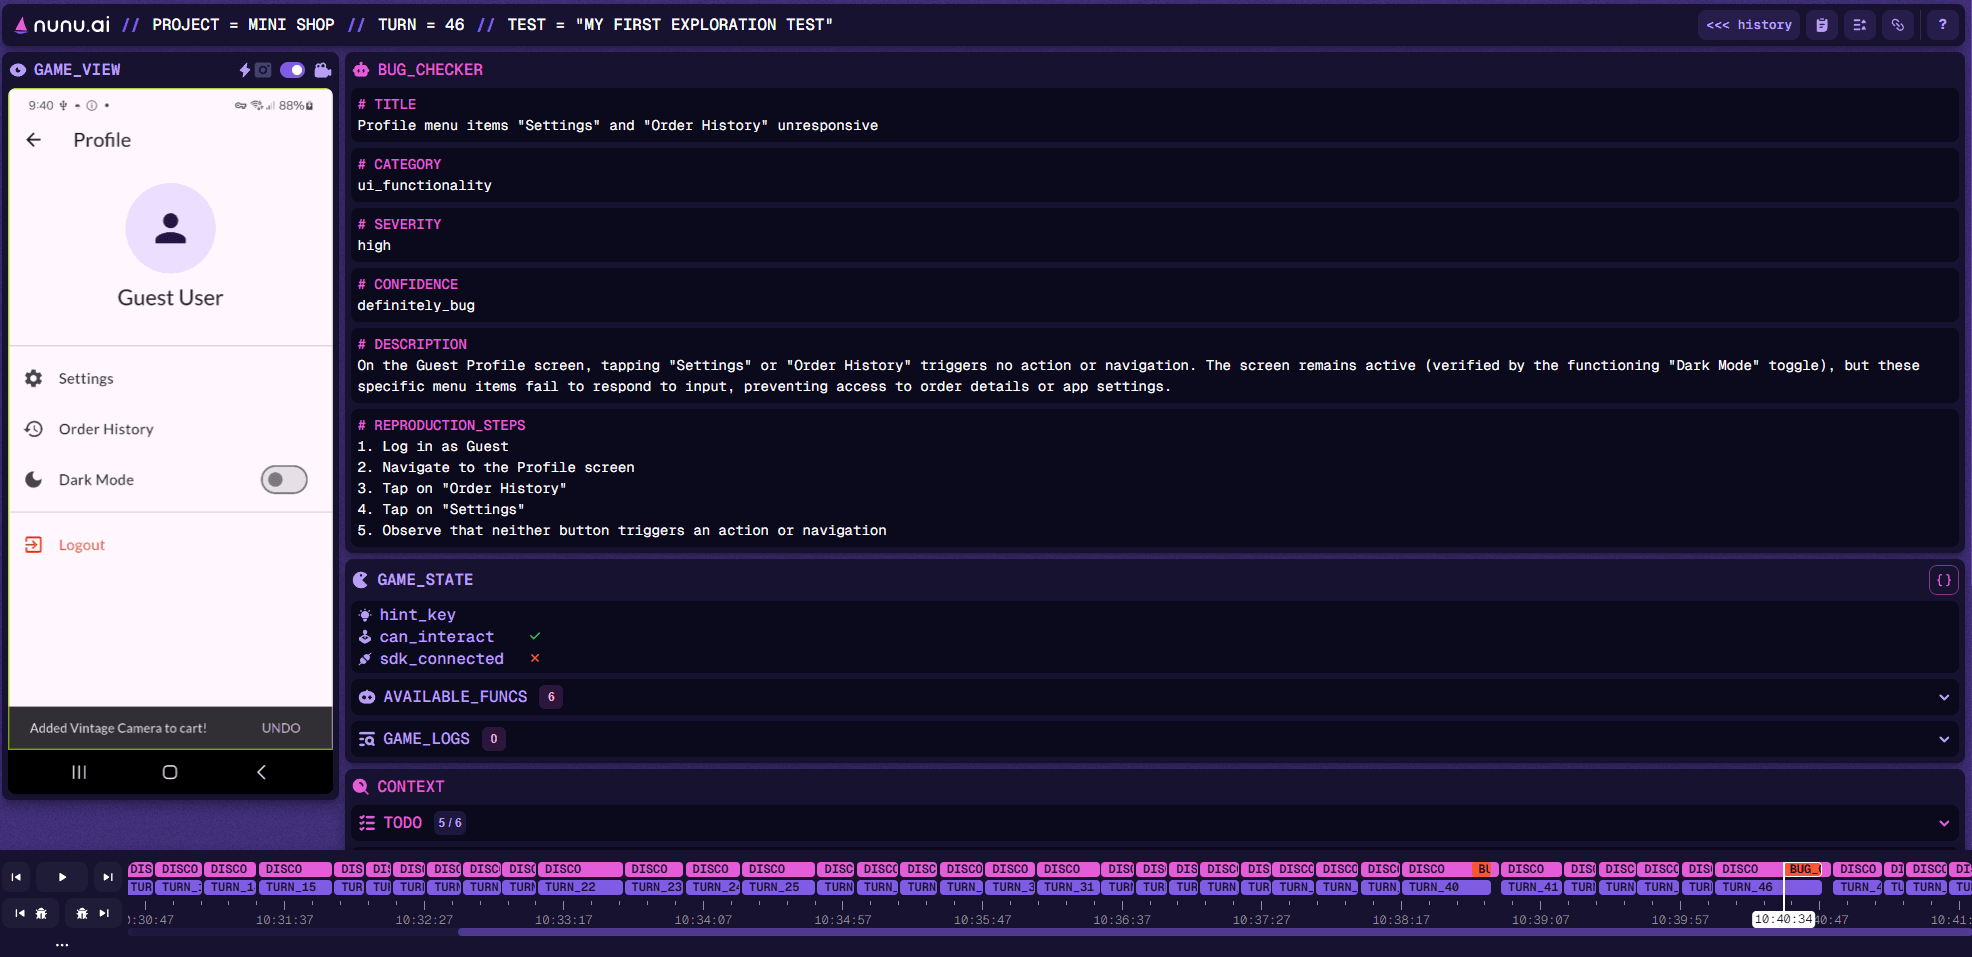
The recording view allows you to review runs in detail and double-check bugs that were found.
Congratulations 🎉! You just completed your first run using the nunu.ai Agent.